France
 Spain
Spain
 Italy
Italy
 Polska
 Portugal
 Mexico

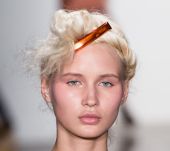
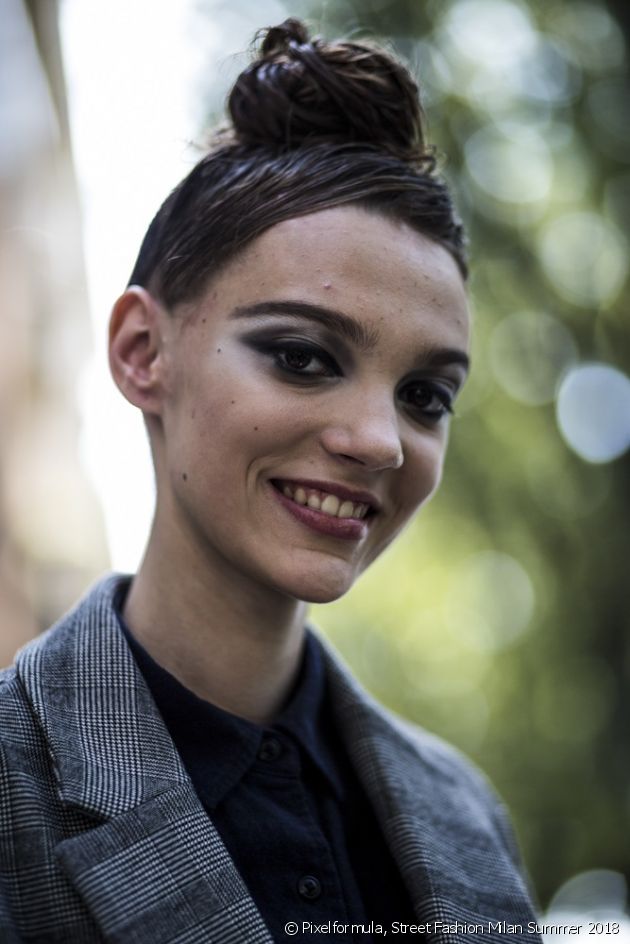
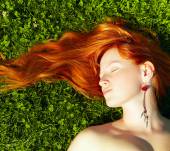
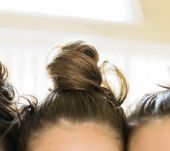
Chignon
How do you do a wet-look chignon?
Perfect for putting a twist on your hairstyles, the wet look is one of this season’s most on-trend numbers. Here is how you can successfully create a personalised wet-look effect combined with a must-have chignon this season.
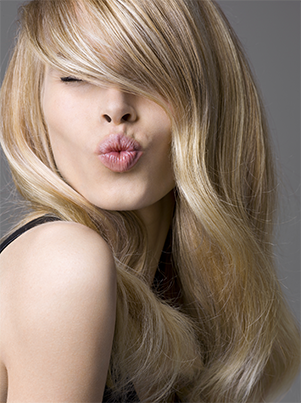
1. Create a wet look to suit you
Luckily, the wet look effect adapts to any look you wish to create and it suits all occasions. To successfully create a wet look effect, work with freshly washed squeezed-out hair to maximise the effects of your styling products. However, for a subtler result, texturize pre-dried hair.
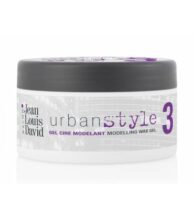
After detangling your locks, heat up a small amount of a flexible gel such as Jean Louis David’s Design Gel between your hands and spread out the product evenly down your lengths. A top tip from the professionals to successfully create a wet look effect? Avoid applying too much gel to the roots to prevent your hair from looking greasy. Also apply it lightly to the tips. Then detangle your hair using a brush to make your hair more supple and make styling easier.
2. Create a chignon to suit your style
Whether you go for a top knot for a cool look, a low chignon at the nape of the neck for an ultra-chic style or a French twist for a rock chick look, all types of chignon suit the wet look. You can mark out a central or side parting to add more movement to your hairstyle before gathering all of your hair together and winding it round itself to form the chignon. Add a touch of shine with a spritz of hairspray and that’s all there is to it!
Not to be missed

You would also like...


Most read
-
 Hair colouring What are the differences between streaks and highlights?
 -
 Damaged hair Why does my hair look fluffy?